How to Tamp Espresso Like a Pro: Step-by-Step Guide for Perfect Shots

If you are fond of espresso, then you should know that to get a perfect espresso shot you need both an art and a science. When you look carefully, you can see that it is a simple method but in reality it is not. One of the most important steps is called tamping of coffee grounds, which is a process that most of the coffee lovers who are beginners in their coffee journey mostly neglect or rush. Getting knowledge on how to tamp espresso properly can bring a whole new difference in your coffee experience between a sour, watery shot and a bold, velvety cup of coffee. Inside this article, we will get to know the tools, techniques and tips which you require while tamping the espresso like a professional barista.
Whether you’re working from your home coffee station or fun tuning in your business setup, mastering tamping is an important skill that you must know. We’ll also dive into the importance of using accessories like an espresso tamping mat, espresso tamper mat, and espresso tamping pad to get compatible and mess-free results.
Table of Contents
Introduction
Many people have a question about why your espresso shots taste off even if you have the best beans and high quality machine, the issue should be on your temping method. Many beginners and home brewers mainly give priority on the grind size and brewing temperature but always overlook the tamping process.
Tamping is a method in which we compress ground espresso in the filter basket to create a flat and equal surface to pressurize the water to go through evenly. If you use this process in the right way, it provides you with an even extraction that creates rich crema on top and avoids channeling. In case if your process is wrong, you will get bitter or sour flavors with a weak body and an incompatible cup of coffee.
In this article, we’ll learn how to tamp the espresso like a professional barista and also discuss a simple step-by-step process, the tools you need and common mistakes to avoid while brewing. Additionally, we will also focus on the importance of tamping mat or espresso tamping pad for brewing espresso which are the most important tools to get a successful result.
Lets break it down to how to tamp espresso.
What is Espresso Tamping?
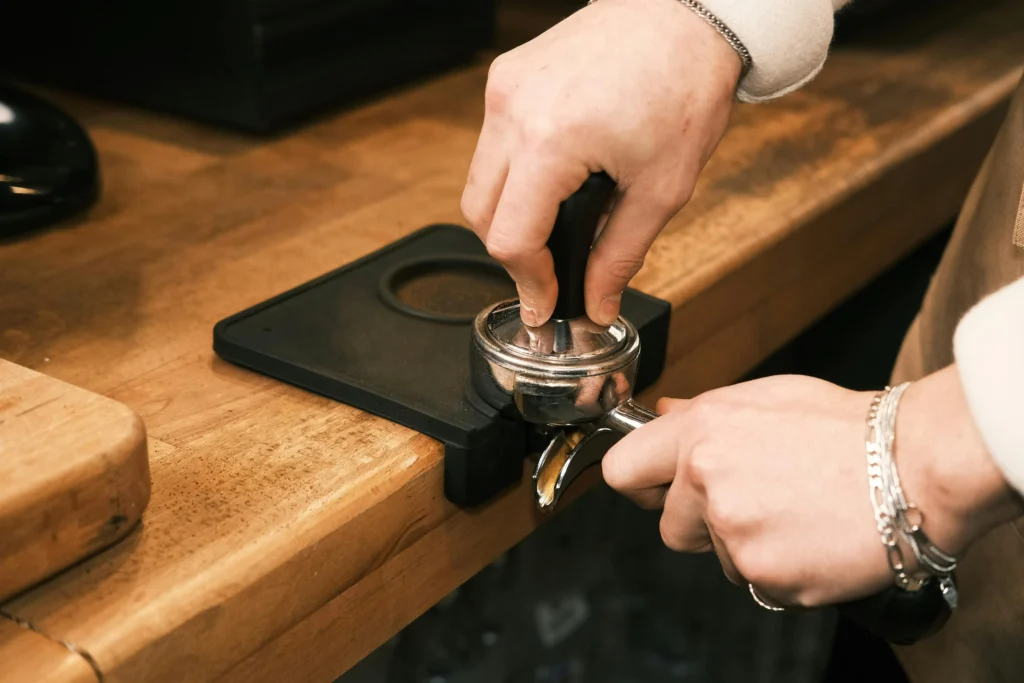
“Mastering how to tamp espresso is not just a technique or skills to prove your coffee remains best-it’s a sacred bond to your coffee. With deliberate pressure, you transform unwieldy grounds into a velvety fortress, coaxing every drop of bold, aromatic intensity from your bean. It’s where persistence meets elegance, and every extraction feels like a standing ovation.”
Tamping plays an important role in brewing a perfect shot, it is more than just pressing down the ground coffee but it’s also about getting uniform resistance. Water usually follows the path where there is least resistance. If compacted coffee ground is not balanced or tamped loosely, water will “follow” through soft spots then you will get over-extracting results on some areas and under-extracting on others, And final result? Inconsistent flavor and a flat shot.
Science of Tamping:
- Pressure: The best tamping force is around 30 pounds. In tamping consistency matters more compared to strength
- Surface Uniformity: The coffee bed must be flat and smooth which allows water to be soaked in all sides.
- Compression: The flowing ground is slow if it uses compacted grounds,making time to have optimal flavor extraction.
The tamping process also affects the crema layer, flavor and mouthfeel. A poorly tamped coffee bed might make your espresso watery or absence of intensity. Because of this reason, every barista from beginners to professionals give their main focus on this step.
Also using the right tools such as a tamping mat can promise you to have even weight distribution not only in cleanliness. It’s key to have professional results.
Tools You Need to Tamp Espresso Properly
Before going into technique, First get to know the gear which is needed at the counter set up to get success in tamping. Here are some of the key tools that every espresso maker must have before learning how to tamp espresso:
1. Espresso Tamper:
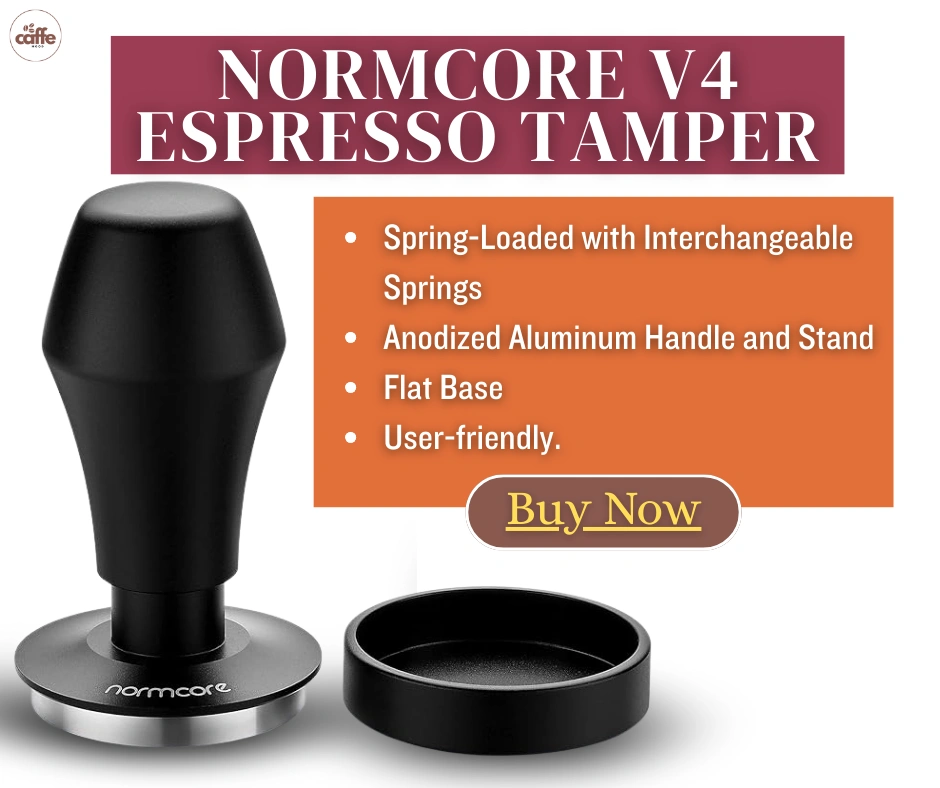
It’s one of the main attractions of the show. When you look at the market, Tamper comes in different sizes (e.g., 51mm, 53mm, 58mm) which matches your portafilter. There are also various types:
- Flat base: Delivers a classic tamp with a clean edge
- Convex base: Little curve to reduce edge channeling
- Calibrated tampers: Give consistent pressure (best for beginners)
2. Espresso Tamping Mat / Espresso Tamper Mat
A tamping mat saves your counter and promises your portafilter to sit perfectly in level when you are tamping. It reduces you from having overuse of strain injury and prevents messes by collecting stray ground. Espresso Tamping mat have two main styles:
- Corner tamping mat: Wraps over the edge of your counter, providing stability
- Flat tamping mat or tamper pad: Simple rubber pads which stays on any surface
Both styles are key for safe, solid tamping and assist you to have less injuries over time.
3. Portafilter
Always make sure your portafilter basket is clean, dry and fits properly with your tamper.
4. Dosing Funnel (Optional)
While distributing coffee grounds , Dosing Funnel helps to prevent grounds from spill over.
5. Espresso Scale
It is used before and after tamping to make your coffee dose perfect.
Step-by-Step: How to Tamp Espresso Like a Pro
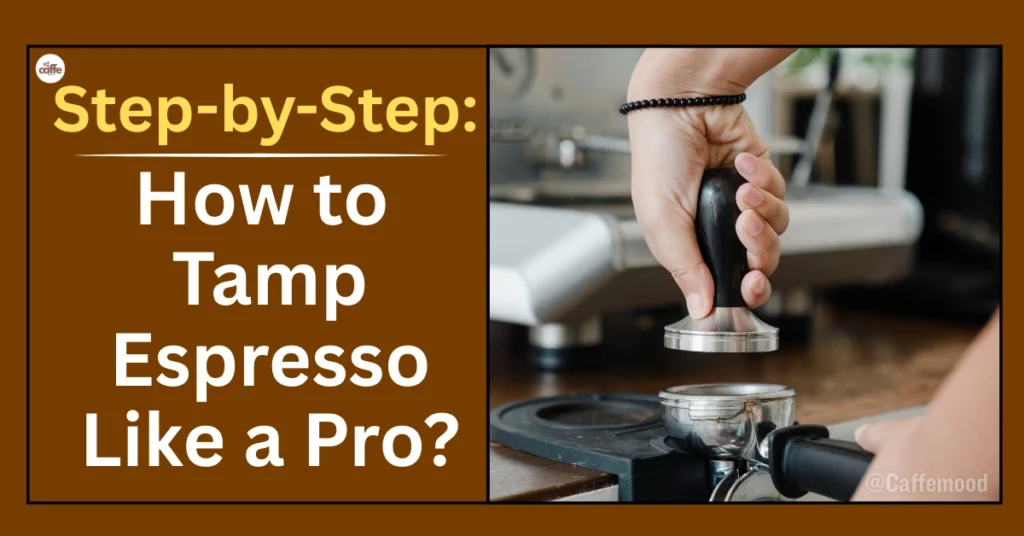
Now be ready on how to tamp espresso like a pro barista? Use these steps to get the best espresso shot, evenly compacted and slightly moist each time:
Step 1: Prep the Portafilter
First wipe the basket dry. Use a coffee scale to weigh 18-20 grams for a double shot of espresso (rely on your basket size) and put inside it.
Step 2: Distribute Evenly
Before you tamp and knowing how to tamp espresso, keep in check that ground coffee are equally leveled. Make use of your finger, a distributor tool or lightly shake portafilter.
Tip: If your distribution of grounds are not done properly, no matter how good you have tampered your coffee grounds as a result you will get uneven-extraction.
Step 3: Position the Portafilter on a Tamping Mat
Put down the portafilter on an espresso tamping mat or espresso tamper pad which creates steady and leveled in balance.
Step 4: Apply Firm, Even Pressure
Grip the tamper tight like a doorknob. Press it down with the help of your body weight with roughly 30 pounds of pressure. Check properly if the base is equally leveled.
Step 5: Polish and Inspect
Once it is tamped, lightly twist the tamper (a technique which is called “polishing”) to make the surface smooth texture. If there are any stray grounds on the rim then brush it away which helps to seal the machine properly.
Now you’re ready to pull your shot with the step by step guide on how to tamp espresso!
Common Tamping Mistakes to Avoid
Even if you use the right tools, if your technique is not correct on how to tamp espresso then you will ruin your espresso shot. Here are some of the most common mistakes on how to tamp espresso and how to avoid them:
1. Tamping at an Angle
If your tamper is not in a proper level, then the water will flow unevenly. Always keep in mind to press straight down. If you use a flat tamping mat, it will ensure to keep things balanced.
2. Over-Tamping
Too much pressure while tamping can get over-extraction and bitter flavors as an end result. Trying using a calibrated tamper or practicing with a bathroom scale, you can get a feel of 30 lbs of pressure.
3. Under-Tamping
Tamping lightly can get water to access through the puck quickly, which leads to sour and watery espresso as a result. So, use firm and steady pressure while tamping to get better resistance.
4. Skipping the Tamping Mat
Tamping the coffee ground without any tamping mat will lead to strain injury in wrist, slipping and mess. So, always keep in mind to use an espresso tamper mat or tamping pad for safety and stability purposes.
5. Uneven Distribution
If you want to fix the uneven grounds with tamping then you are wrong, it can’t. You can use the distributor tools or before you tamp check out if the coffee puke is flat.
Why Tamping Matters for Espresso Extraction
While brewing espresso shots, have you ever got overly bitter or flat taste? Yes, than the main problem is poor tamping. Espresso brewing is a process which has a delicate balance between grind size, water temperature, pressure and tamping technique. Although you have used the right steps perfectly in everything else but avoid the proper tamping process on how to tamp espresso perfectly then you are ruining your shots.
What Happens During Extraction?
While pressing the warm water from the compressed puck, you will get balance resistance. Tamping make sure:
- Even water flow
- Proper contact time
- Uniform flavor extraction
- Beautiful, thick crema
Without this consistency, water will “flow down” through the simplest route which is specifically from edge or through soft spots and get the result of under-extraction or over-extraction.
Flavor Impact:
- Under-tamped: Sour, thin, acidic
- Over-tamped: Bitter, astringent, overly slow extraction
- Unevenly tamped: Wild flavor swings, unpredictable results
Pairing consistent tamping with the best espresso mat helps on how to tamp espresso and get better control and avoid daily guesswork. This pair has become a starting point for repeatable and barista-quality shots and specially for those who brew multiple shots a day.
The Role of a Tamping Mat or Espresso Tamper Pad
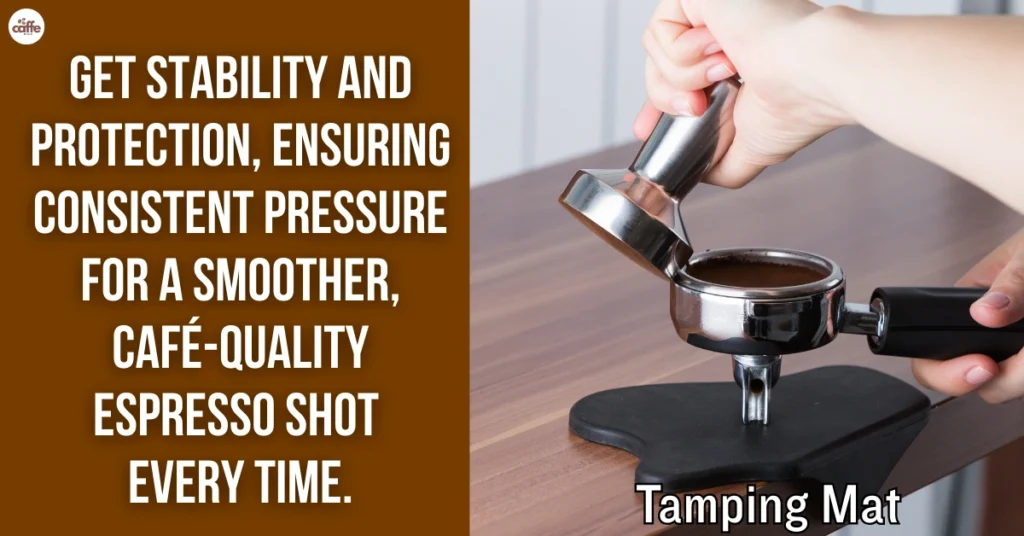
One tool plays a critical role in making espresso shots, that is the espresso tamping mat which can make you professional on how to tamp espresso. It is more than just a simple rubber mat, it is your wrist best friend which reduces wrist injury and also your countertop’s guard. These mats ensure to keep a flat tamping surface while also holding the portafilter stable during pressing.
Why You Should Always Use a Tamping Mat: A best accessory on how to tamp espresso
- Protect Your Countertop: Mainly if you are using heavy weight tampers or portafilters made of steel.
- Reduces Injury Risk: You will face wrist fatigue or receive strain in wrist repetitively.
- Improves Stability: Avoid slipping of coffee ground from portafilter while tamping.
- Keep Your Station Clean: Most of the mats available in market have slightly raised at the edges or grooves which helps to catch the stray grounds.
Types of Tamping Mats:

- Flat Espresso Tamping Pad: Ideal for small spaces; compact and easy-to-carry.
- Corner Espresso Tamper Mat: Perfectly Fits over the edges of the counter to get leverage and stability. It is best for heavy uses.
Using a good mat makes you both look and feel like a professional and also the key point is it assists you to tamp like one too.
How to Use a Calibrated or Spring Tamper
While tamping coffee grounds, if you keep struggling on “What is the right pressure to apply”? Tools called Calibrated Tamper can change your game totally. These tampers involve an integrated spring device, when you reach 30 pound pressure.
Benefits of a Calibrated Tamper:
- Ensure you have consistent pressure in each brew.
- Best for beginners and multi-barista environments
- Minimize over-tamping and wrist strain.
- Pair better with any espresso tamper mat setup
To use one:
- Always hold the handle vertically above the grounds.
- Until you feel the tamper click, keep pressing down lightly.
- Release and polish slowly to get a smooth surface.
After following this, you’ll discover your espresso shots consistency will improve with just putting little effort. And when you pair alongside with a stable tamping mat, you will get serious reliability in your worksteps.
Should You Tamp Twice? The Debate Settled
Inside the coffee world, there’s a debate going on for a long time: Should you tamp espresso twice?
Some professionals carry out a light pre-tamp to settle the ground, after that to get full compression, they perform a second tamp. Others debate that using double-tamping present inconsistency and disturb the punk.
Here’s What the Experts Say:
- Single tamping is excellent, especially when done with proper distribution beforehand.
- Double tamping can create cracks or unbalanced density, especially if the grounds are not redistributed.
- If you must tamp twice, make sure that the first pressure is light and the second time is the main pressure application.
To get rid of this debate altogether, make use of a coffee distribution tool before tamping and depend on a calibrated tamper. If you paired it with a level espresso tamper pad, you will get a perfect performance and you don’t need multiple tamps.
Cleaning and Maintaining Your Tamping Tools
Just like any other parts of espresso tools, tamping tools also need proper care. If you keep tampers dirty then it will impact your health, consistency and also lifespan of it.
How to Clean an Espresso Tamper:
- Wipe with a moist cloth after using each time.
- Weekly use food-safe sanitizers.
- If you are using submerging wood-handled tampers then avoid water.
Cleaning a Tamping Mat or Tamper Pad:
- Shake off loose grounds after brewing each time.
- Use warm soapy water to wash weekly.
- Let it fully dry before you place it back on the counter.
Cleaning properly avoids coffee oils to build-up, which makes it slippery while tamping surface or mold. Just like your portafilter, you need to clean and dry your espresso tamping mat before brewing espresso.
Best Tamping Accessories to Improve Your Technique
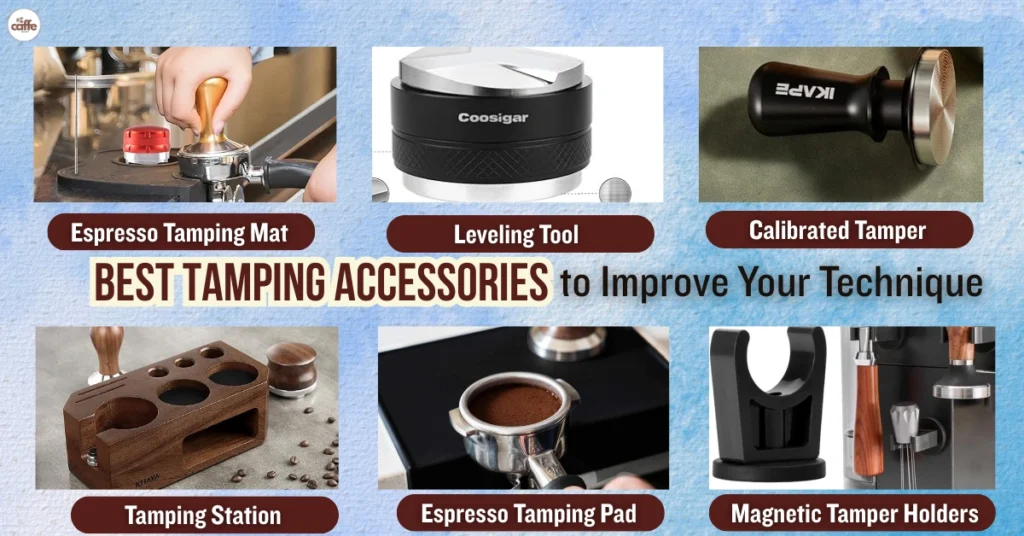
Tamping ground coffee is a small technique while making espresso. But if you don’t have the correct setup and use it to tamp repeatedly, it will lead your wrist to exhaust or get an error result.
1. Espresso Tamping Mat (Corner or Flat Style)
All baristas demand a tamping surface. A corner espresso tamping mat helps you to have extra stability and fits perfectly on countertop edges which is ideal for pressure-heavy tamping. A flat espresso tamping mat is best for those who have small spaces or minimal setups.
Pro Tip: Select food-grade silicone mats which are thick, heat-resistant, and can be washed easily.

2. Tamping Station or Base
A tamping station holds both your portafilter and tamper in one organized manner. To have less movement and absorb the pressure, it is used usually by pairing with a mat or pad. Ideal for lively cafes.
3. Leveling Tool / Distributor
Coffee distributor (also called a leveling tool) is used before tamping coffee grounds. It promises you to have an even bed of grounds on each side, reducing the chance of having channeling. Some tools provide 2-in -1 features, one end has a distributor and a tamper on the other side.
4. Calibrated Tamper
As we have mentioned before, a spring-loaded tamper promises consistent 30 lbs of pressure. Best for baristas who demand every shot to be of the same taste.
5. Espresso Tamper Pad
An espresso tamper pad is of small size and thick disk which avoids slipping while you are tamping and also safeguard both the tamper base and its countertop. It is an alternative to full- size mats for those who have a small space.
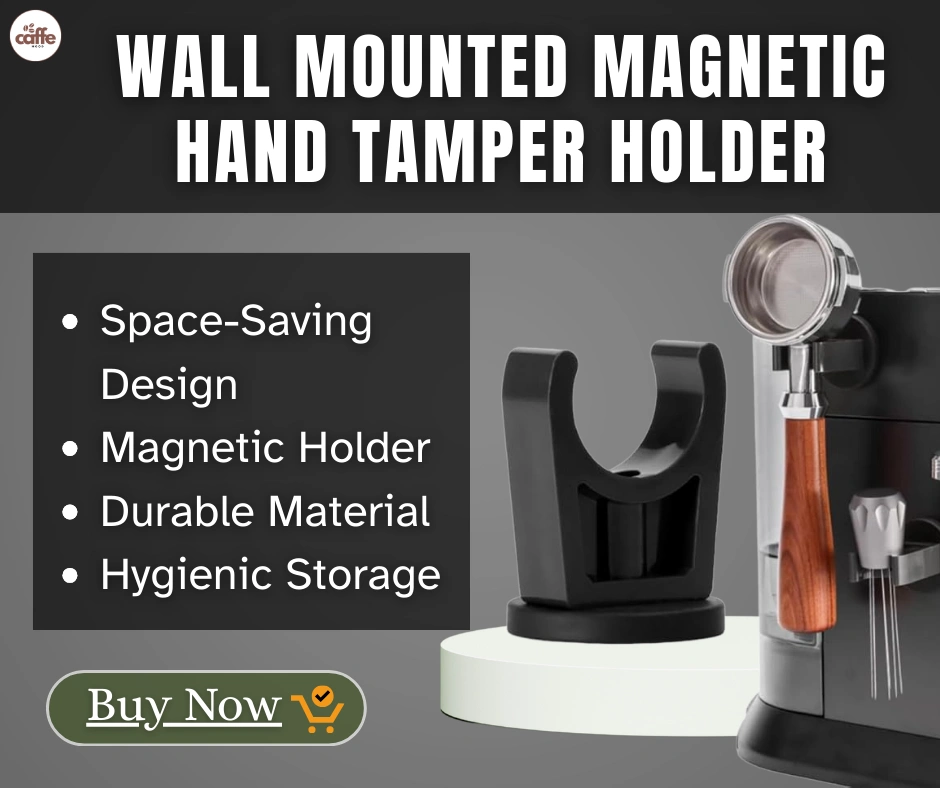
6. Magnetic Tamper Holders
Some of the latest tampers have magnets in it and can be attached easily to your tamping stations. It looks professional and also makes sure you have everything organized properly.
Troubleshooting Poor Tamping Results
In case your espresso still tastes dull, don’t get a rough assumption that there is a problem in your beans or machine. The tamping process might have a problem. Here’s how to tamp espresso that might solve troubleshoot problem related to tamping:
1. Bitter Espresso
- Possible Cause: Over-tamping, creating too much resistance.
- Fix: Minimize pressure slightly and make sure your tamper surface is flat.
2. Sour or Watery Espresso
- Possible Cause: Under-tamping or uneven tamp.
- Fix: Apply firm, uniform pressure and promise the puck is level.
3. Fast Shot Time (<20 seconds)
- Possible Cause: Grounds too coarse or tamping too soft.
- Fix: Modify the grind finer and maximize the tamping pressure.
4. Uneven Crema
- Possible Cause: Channeling because of uneven puck surface.
- Fix: Take a distributor tool before tamping and tamp on a tamping mat to keep ground coffee in level.
5. Puck Sticking to Group Head
- Possible Cause: Wet portafilter or overdosed basket.
- Fix: Wipe the basket dry before dosing and use a measuring scale to get rid of overfilling.
Tamping isn’t the sole factor while brewing espresso, but when everything else is prepared such as grind, dose, machine, poor tamping is often missing while brewing.
Espresso Tamping for Different Machines (Home vs Commercial)
The technique of tamping coffee grounds is slightly different and it fully depends upon what type of machine you are using. Understanding your setup assists you to have a fine-tune approach.
Home Espresso Machines:
- Lighter portafilters need to be paired with stable tamping pads or mats.
- Portafilters may be intensive (less tamp-sensitive) or non-intensive (more tamp-sensitive).
- Select compact accessories while shopping: smaller tamping pads or basic mats.
Commercial Machines:
- Heavier portafilters provide high resistance. So, corner mats or full tamping stations are a must-have tool.
- Because of non-pressurized baskets, your shots can be more sensitive to tamping flaws
- Staff training and tool consistency (e.g., calibrated tampers) is important while setting up a cafe.
No matter what machine you are using such as Breville, Rancilio or La Marzocco, Pairing consistent tamping with a reliable espresso tamping mat is the focus to get quality espresso shots.
Tamping and Espresso Recipes: Dose, Time, and Pressure
Alongside dose and brew time, tamping plays one part in the recipe triangle of brewing espresso. Know now how it ties in:
Standard Espresso Recipe (2025 Guidelines):
- Dose: 18–20 grams (for a double shot)
- Yield: 36–40 grams of liquid espresso
- Brew Time: 25–30 seconds
- Tamping Pressure: 30 lbs (consistent and even)
How Tamping Affects the Recipe:
- Light tamping? The flow of the water is too fast which causes under-extraction.
- Heavy tamping? Water struggles to pass through and the result will be over-extraction.
Pairing tamping with grind size adjustment can lead you to have an ideal espresso shot. Tamping isn’t just about physical strength but also about its replicable resistance. With the help of calibrated tamper and tamping on a consistent espresso tamper pad create your recipe to be smoother and easier.
Conclusion
You may see that tamping only has a minor role while making espresso, but it’s an important skill which can change your “just okay” espresso shots to excellent ones. Understanding how to tamp espresso correctly can promise you to have an evenly water flow, which leads your espresso shots to contain balanced in flavor and crema topping to be thick and bold.
There’s good news? Applying the correct skills, getting some training, and pairing with the right tools such as a reliable espresso tamping mat, tamper pad, or calibrated tamper, you can get the right result on how to tamp espresso no matter how many times you brew.
So, even if you are brewing espresso shots at home or at the cafe, always keep in mind: tamp coffee ground with purpose, not just by using force. Your taste buds (and consumer) will appreciate you.
- 👉 “Mastering tamping is just the start-discover the best coffee grinders for espresso to elevate every shot you brew.”
- 👉 “Want your tamping efforts to shine? Learn how to clean a coffee machine properly for consistently fresh, bold flavors.”
- 👉 “Perfect tamp, perfect grind—see our guide on must-have coffee accessories every espresso lover needs.”
- 👉 “Tamping right pairs beautifully with the right beans—explore our list of top coffee beans for espresso to taste the difference.”
- 👉 “If you’re serious about café-quality results, check out our expert tips on maintaining your coffee maker for long-lasting performance.”
FAQs
1. What is the ideal tamping pressure for espresso?
The ideal pressure for tamping espresso is about 30 pounds, however consistency is also more important than the exact number. A tool called calibrated tamper can be of help in it.
2. Do I need a tamping mat?
Yes. An espresso tamping mat or espresso tamper pad offers you to have a stable, safe surface while tamping, minimizing the wrist strain and avoiding having a messy counter and giving better support on how to tamp espresso.
3. Can I tamp espresso without a tamper?
It’s possible, but you won’t get a uniform outcome. A proper tamper is an unavoidable part to get even puck density and extraction as a result.
4. What happens if I tamp unevenly?
Uneven tamping makes water flow through weak spots, making the outcome of sour, bitter, or unevenly extracted espresso shots.
5. How often should I clean my tamping tools?
Clean your tamper and mat after every time you brew. Wipe with a cloth and wash mats weekly to keep up hygiene and for better performance.


